

Tuesday, November 8, 2011


Organisms
These are 4 sculpted, fictionalized, organisms out of wax - outlining the 4 stages of development, that this 'organism' endures before becoming an adult.

1st Stage

2nd, 3rd Stage (Adolescence)

4th Stage (Adult)

Close up of adult (4th) stage.

Display: This is how they will appear when they have been cast in Dragon Skin (and glow blue)!
Upon completion of the sculptures, molds were the next step in this process, so then I can proceed with the castings. Thanks to Kayla, a sculpture and installation major at OCAD U for her guidance and assistance with this!

1. Build a wall of clay (prevents the silicone from running... everywhere, as it is extremely runny).

Me constructing the wall of clay

Again...

And again. This process has to be completed for each sculpture, each with there own board.

Complete!

Kayla helping me blow out all the clay debris to ensure a great mold.

Silicone mixed, and in the vacuum, (it's purpose is to be rid of any air bubbles)

Applying the Silicone!

It is beginning to set. (This process took about 45 minutes - reason: If you simply pour it on, good old gravity will push the silicone around the form, oppose to on it).

A few days later... Completed silicone mold, now to plaster and make what is called the mother shell.
Painting the Town with Wheat

For the launch of Shannon Gerard's, new publication, Unspent Love, me and a fellow student and friend Krystina,wheat pasted around the city of Toronto on Saturday, November 5th. We pasted primarily on Dundas street west to Ossington, then headed south on Ossington and continued west on Queen. This was my first time ever wheat pasting and I love it. I plan to do some large installations with this process.
Best Wheat Paste... Why?
Nickelshit sucks.
Bordem Leads to Making Motivational Posters

The Neverending Fight - with nasal congestion.
Poor Morla
Relief (Lino) Destruction

Getting ready to print, by prepping my ink and roller.

The press is set and ready to be abused (nicely)

First pull of the relief linoblock print. I was content but not impressed. So I decided to switch the method of printing - instead of a relief based pressed, I switched to an intaglio press.

Lee being camera shy in the Intaglio studio (that, or he secretly hates me)

Lee and Krystina chilling in the Intaglio studio.


Lino block ready to be printed

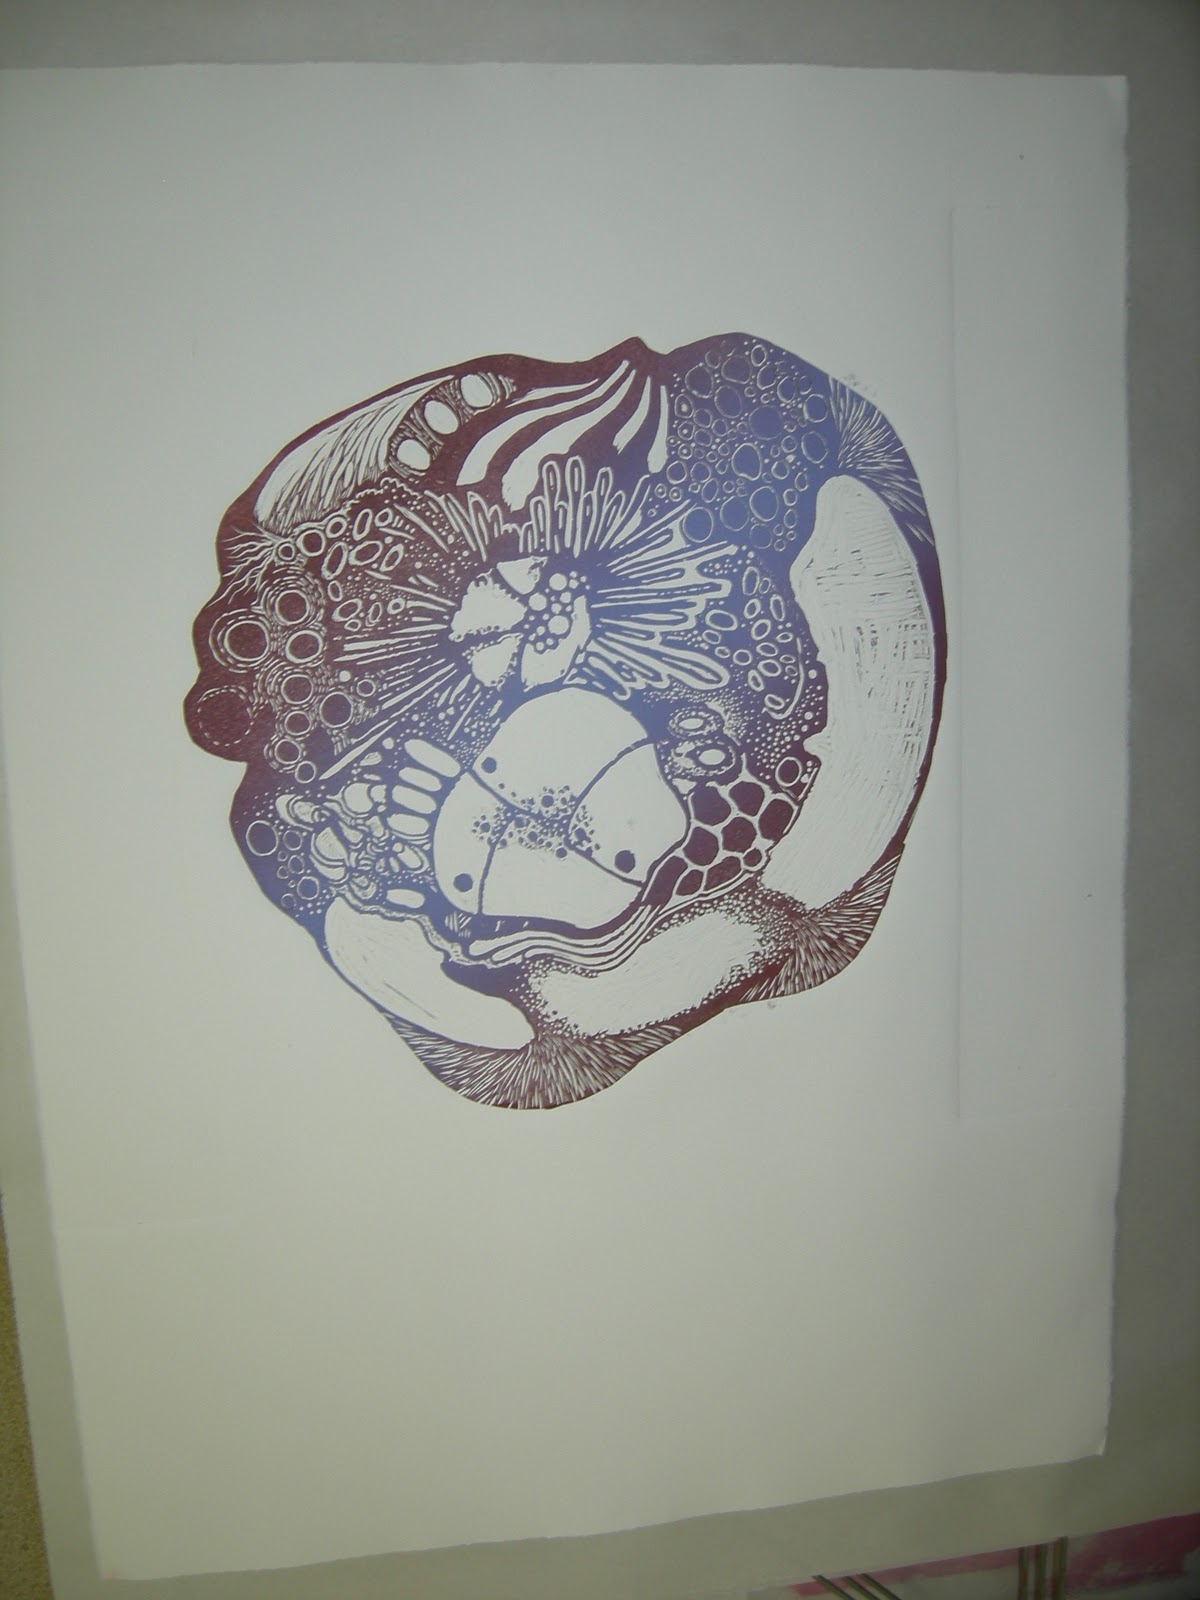
I thought I would do a varied addition (color). So some where reddish purple. red-purple and tint base (split fountain) and some proofs in black.

Close up of print
Ink Remnants
These are some photos I took while printing a relief and I was intrigued by the patterning caused by the combination of estisol and ink.
Reminds me of cross sections of the human body
Rad sauce.


Subscribe to:
Posts (Atom)